


- Preparation before construction
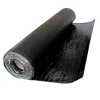
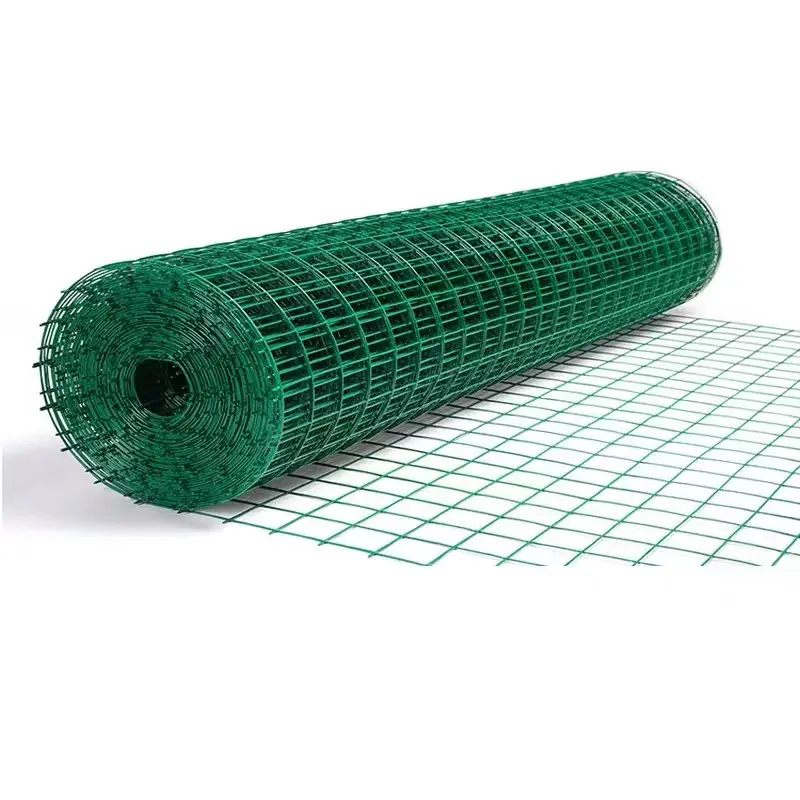
- choose the right dipping net: According to the specific requirements for the installation of synthetic thatch tiles, select the impregnated mesh with appropriate mesh size, appropriate wire diameter and thickness, and the size conforming to the installation area. For example, if it is installed on a roof with a large slope, it is necessary to select a plastic-impregnated net with higher strength and thicker wire diameter to ensure that it can withstand the weight of synthetic thatch tiles and external forces such as wind power. For areas that require finer installation effects, plastic-impregnated nets with smaller meshes can be selected to better fix the thatched tiles.
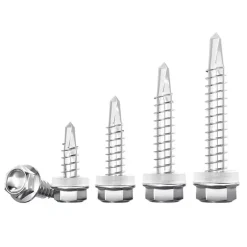
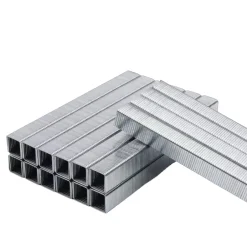
- Preparing the Installation Tools: Prepare the tools needed to install the impregnated net, such as pliers, screwdrivers, wrenches, expansion screws, cable ties, etc. At the same time, ensure that the construction personnel are equipped with safety protection equipment, such as safety helmets, safety belts, gloves, etc.
- Roof base treatment
- cleaning the roof clean up the sundries, dust and oil stains on the roof base to ensure that the roof base is flat, dry and free of cracks. If the roof base level is uneven, it needs to be repaired and leveled to ensure that the impregnated mesh can be laid on the roof.
- Installing fixings: According to the material and structure of the roof, select the appropriate fixing parts to fix the impregnated mesh on the roof. For example, for cement roofing, you can use expansion screws to fix the frame of the impregnated mesh on the roof; for wooden roofing, you can use screws or nails to fix the impregnated mesh on the wooden beam.
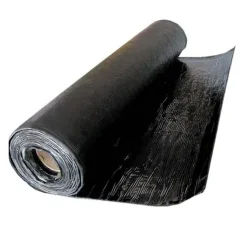
- Laying impregnated plastic mesh
- unfolding the dipping net: Unfold the impregnated mesh carefully to avoid distortion or damage to the mesh surface during the unfolding process. Align the edge of the impregnated mesh with the edge of the roof to ensure that the impregnated mesh can completely cover the area where the synthetic thatch tiles need to be installed.
- Fixed dip net: Use the prepared fixing parts to firmly fix the impregnated net on the roof. In the process of fixing, attention should be paid to maintain the flatness and tightness of the impregnated net to avoid relaxation or bulging. You can use pliers to pass the cable tie or wire through the mesh of the impregnated mesh, and then fix it on the fixed part of the roof, or directly use screws to fix the frame of the impregnated mesh on the roof.
- Installation synthetic Thatch Tiles
- cropping synthetic Thatch Tiles: According to the shape and size of the roof, use scissors or saw to cut the synthetic thatched tiles into a suitable size and shape. In the cutting process, pay attention to keep the edges of the thatched tiles neat to avoid burrs or cracks.
- Fixed synthetic Thatch Tiles: Place the cut synthetic thatch tiles on the impregnated net and fix them according to the design requirements and installation sequence. You can use a tie or wire to fix the edge or specific parts of the synthetic thatch tile on the impregnated net, or you can use auxiliary fixing materials such as glue or nails to ensure that the synthetic thatch tile can be firmly fixed on the impregnated net.
- inspection and adjustment
- check fixing condition: After the installation is completed, check the fixation of the impregnated mesh and the synthetic thatched tiles to ensure that both are firmly fixed on the roof and will not loosen or fall off. You can gently pull the impregnated mesh and synthetic thatch tiles by hand to check the firmness of their fixation.
- Adjust Appearance Effects: Check the laying effect of synthetic thatch tiles to ensure that their appearance is natural, neat and beautiful. If it is found that the position of the thatched tile is offset or the appearance is not ideal, timely adjustment and correction.


Reviews
There are no reviews yet.