

- Construction preparation
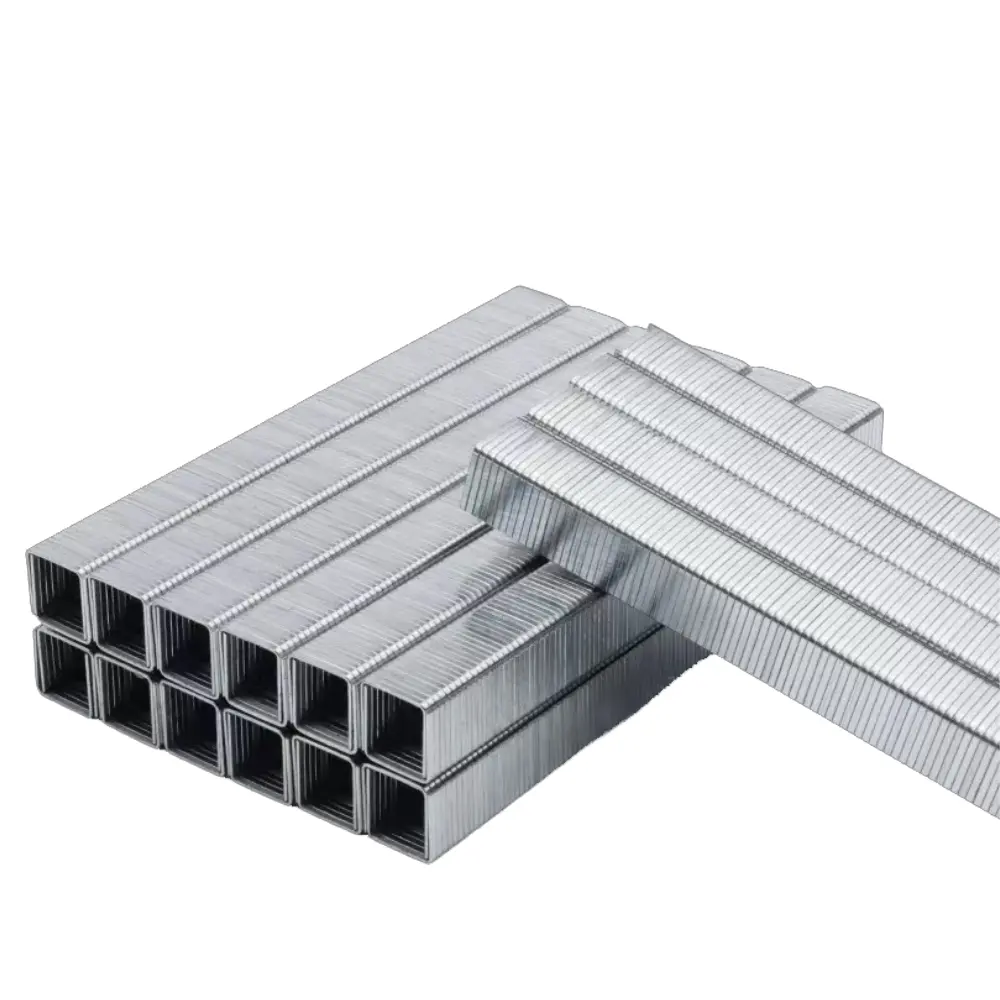
- tool preparation: Prepare the pneumatic code nail gun to ensure that it can work normally and is compatible with the 422U code nail. At the same time, prepare measuring tools such as tape measure, square, etc. for accurate measurement and positioning.
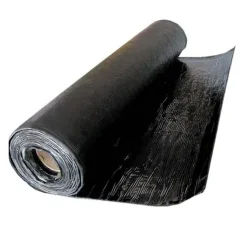
- Material preparation: Prepare the synthetic thatched tiles as required and check whether the quantity, color and specifications meet the requirements. In addition, prepare other auxiliary materials, such as sealant, waterproofing membrane (if necessary), etc.
- Base treatment: Ensure that the surface of the base where the synthetic thatch tiles are installed is flat, dry and clean, without defects such as cracks and bumps. If it is a wood base, the need to check the wood decay, moth, and the corresponding treatment; if it is a metal base, the need for rust, rust treatment; if it is a cement base, the need to ensure that its strength to meet the requirements, and the appropriate grinding treatment.
- Installation Process
- positioning and bullet line: According to the design requirements and construction drawings, position and line on the surface of the base layer to determine the installation position and direction of the synthetic thatch tiles. Ensure that the bullet line is clear and accurate for subsequent installation work.
- Laying of base material (optional) according to the actual situation, lay a layer of underlying materials on the surface of the base layer, such as waterproof coiled materials, heat insulation materials, etc. The laying of the bottom material should be smooth and firm, and the lap joint should be tightly sealed.
- Installation synthetic Thatch Tiles:
- Starting from the eaves, along the position of the elastic line, fix the solid tile part of the first row of synthetic thatched tiles with 422U code nails along the edge of the eaves. Pay attention to the spacing of the code nails should be uniform, generally controlled at about 15-20cm to ensure that the thatched tiles are firmly fixed on the base.
- The second row of synthetic thatch tiles should be laid overlapping with the first row, and the overlapping width is generally 2-3cm to ensure the integrity and waterproofness of the roof. Then fix the second row of thatched tiles with 422U-type code nails.
- Starting from the third row, each row is laid back 2-3cm upward, highlighting the heavy effect of the eaves. During the laying process, pay attention to the direction and angle of the thatched tiles to ensure the beauty of the roof.
- At the ridge, first lay the main surfaces on both sides of the thatched cottage, and then simultaneously lay the ridge shape from bottom to top. The thatched shingles at the ridge need to be cut and spliced to fit the shape of the ridge. The splice shall be fixed firmly with 422U code nails.
- Fixed and adjusted
- fixed: During the installation process, constantly check the fixation of the thatched tiles to ensure that each thatched tile is firmly fixed on the base. For some parts that are easy to loosen, you can increase the number of code nails or adjust the position of the code nails.
- Adjustment: After the installation is completed, check and adjust the overall effect of the thatched tile. If it is found that the thatched tile is uneven, warped, dislocation, etc., it should be adjusted in time to achieve the effect of the design requirements.
- Final work
- cleaning after the construction is completed, clean up the construction site and clean up the surplus materials and garbage.
- Check: A comprehensive inspection of the entire roof to ensure that the installation quality of the thatched tiles meets the requirements, and there are no missing nails, looseness, cracks and other problems.
- Acceptance: Invite relevant personnel for acceptance, and only after passing the acceptance can it be delivered for use.


Reviews
There are no reviews yet.